Using a series of sketches, a study painting, and finally the painting itself- I attempted to capture the essence of this busy, colorful workshop scene.
The position of the wood, the blue boogie-boards, and the green chair with an Orange sleeping-bag draped over it makes this composition shout, “Here I am! Paint me!”
When I started the piece, I did a quick sketch to get the composition down, then the dark areas.
Usually preferring to paint outdoors, I liked these subjects, and made an exception.
Once I found the gist of the drawing style, shape of the wheelbarrow, and blurred background, I set my hopes high on capturing such details as the Birch logs, for instance. I quickly learned I had other options.
A fast painting of the subject, this “study” revealed to me the plethora of color, for instance the blue in the wheelbarrow, I could substitute to liven the painting up.
Not that I had to make up colors, but I felt the yellow logs, blue wheelbarrow, and green chair against the orange sleeping bag could be a fun take. Here’s my stab at bringing it all together:
Seen from its side, this painting is an abstract interpretation of the scene. Right-side-up makes a little more sense. Enjoy!
Today, I am going to create some new panel (canvas) sizes for another round of paintings. Stay tuned!
Here’s a new painting I did of Maple syrup buckets sitting in a Maple tree.
Can you spot the buckets?
And the sketch of the site …
Before doing these sketches, I decided to make use of the nice weather and set up Maple syrup buckets. Every year, my dad and I produce a small amount of syrup—about 1 gallon— to share with friends and have with pancakes.
We always make a little change to our process, for example last year we used a different burner. This year, I thought I’d alter the way we collect sap.
Modern, big-production setups use a system of latex lines, running between stands of Maple trees and running to a common downhill location. The collection equipment we have is a little more primitive. We use food grade buckets and latex tubes connected to taps. It’s pretty simple, we use a 7/16” bit and drill into the tree about 1.5”. Plug in the tap, and run the line into the bucket! There y’a go.. UMaine guide linked here: https://extension.umaine.edu/publications/7036e/
I decided to try and place the taps higher on the tree to get more sap. The only problem-/ my buckets and latex lines are between 6” and 1’ too short.
I started making “stools” for my buckets before I ran out of energy.
Making stools with three 2×4 legs and a slice of pine, I achieved the 6” raise I needed, but with a lot of effort expended. I still had four buckets to place, and a painting to do, I resorted to other methods.
Situating a bucket amongst branches raised it up 6” higher!
The next Maple tree I tagged is older, and has suckers growing out of the bottom of it. I used these branches to help prop up the buckets. It worked, and once the wether warms up and sap starts running, we will see if it was worth the trouble to raise the tap height for the amount of yield it nets!
Basal scar at the base of the tree.
As you can see in this picture and the last, the old Maple Tree has two large dead areas in the base, called “basal scars”. These scars are indicative of some kind of trauma. We might have hit the tree with the lawn mower, or as we suspect, the tree was hit by lightning. The little bit of the tree that was burned cannot grow, and becomes these scars. Sensing it’s been damaged, the tree responds by sending out new shoots. It’s these new suckering branches that are making a nice shelf for my maple sap buckets to rest on.
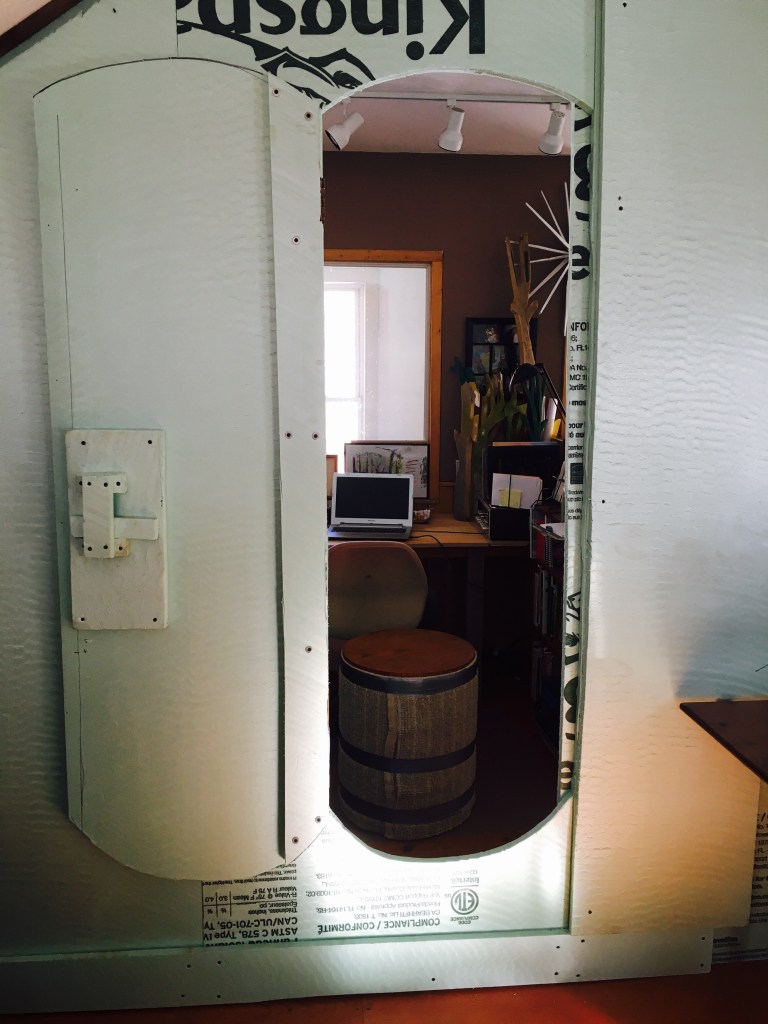
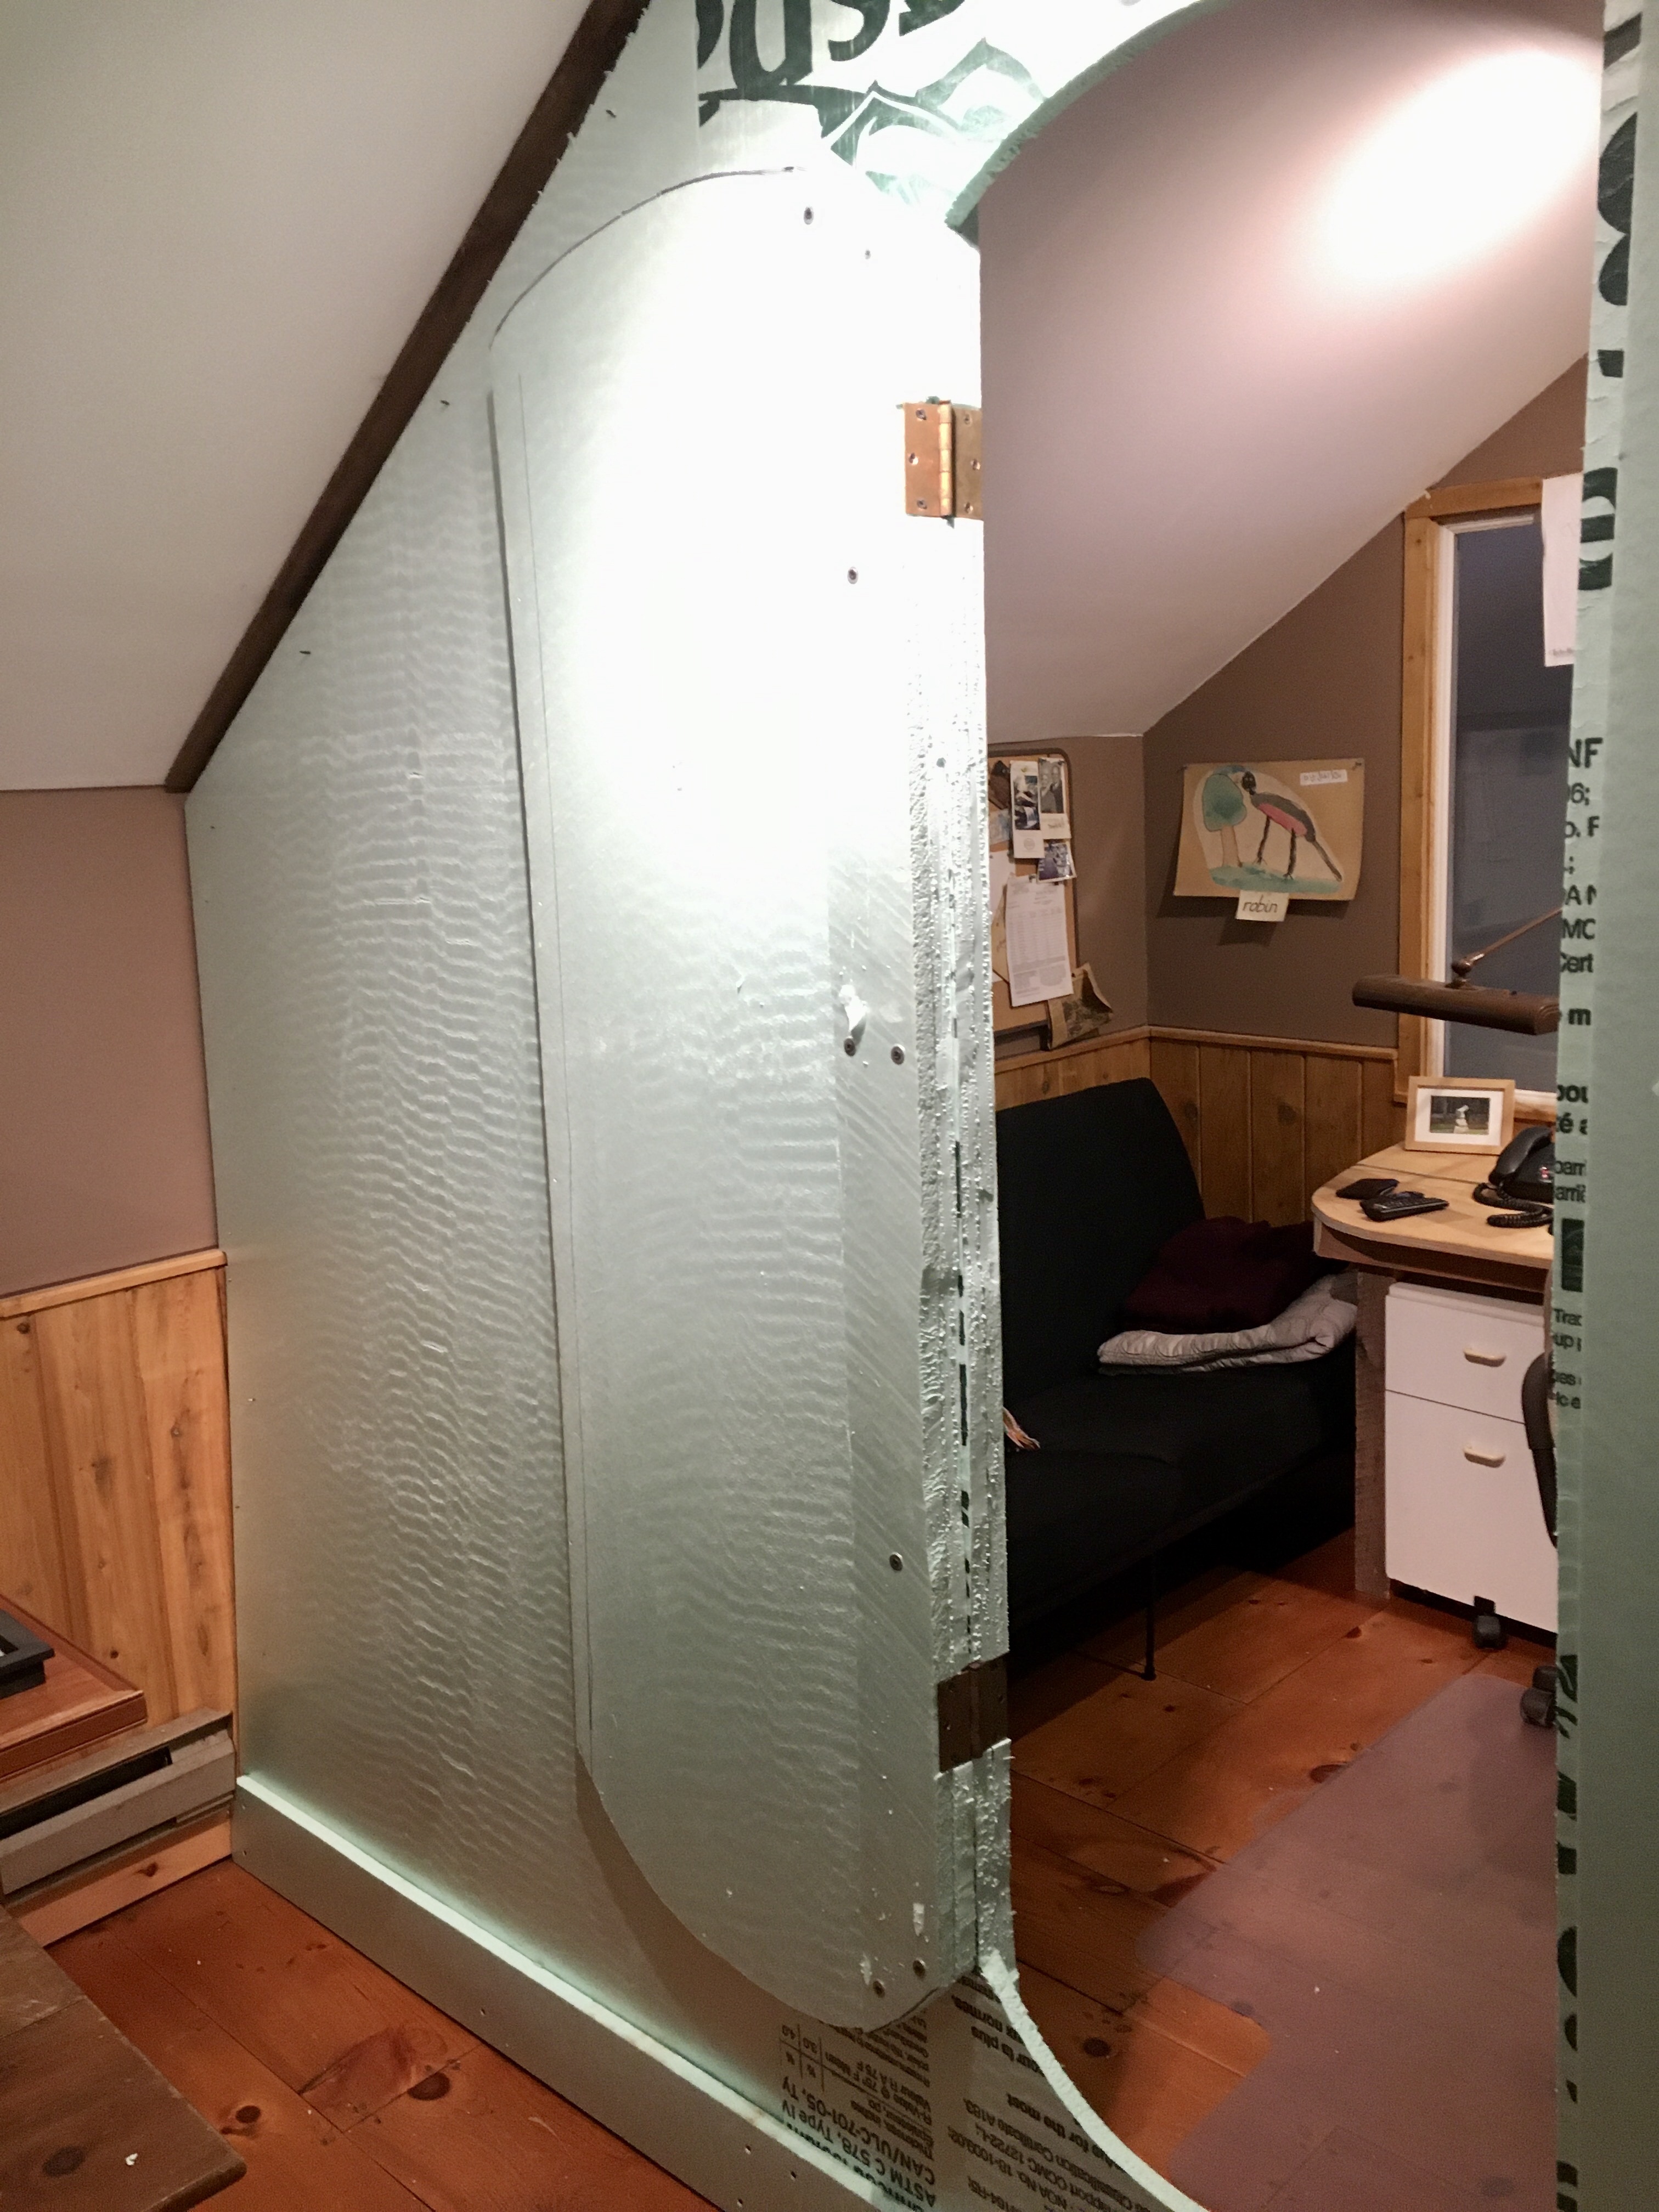
The other day, my roommate, my mom, commented on my “fancy” studio door. I’d made a foam wall dividing the office to cut down heating costs. This post shows how I made it the door through the foam wall.
Studio door in “open” position
Placing the door somewhere you wouldn’t expect it gives me a sense of satisfaction when I use it. Coming into the office, there’s a set of stairs immediately to the right. A door at the top of the stairs makes sense, but isn’t dramatic. So I moved the door over, accessing it from the other half of the office space.
The studio door sits off to the right.
When making the door, the shape was also something to consider. I didn’t want a small square, as my dad has successfully cut into the front of the garage door. Instead, I opted for a submarine-style door. The size was large enough for me to get a double mattress through—it’s at least 56” high x 30” wide—in case I need to move in the space.
Garage door cutout, made by Mo-, the prototype for my studio entrance. Chair for scale
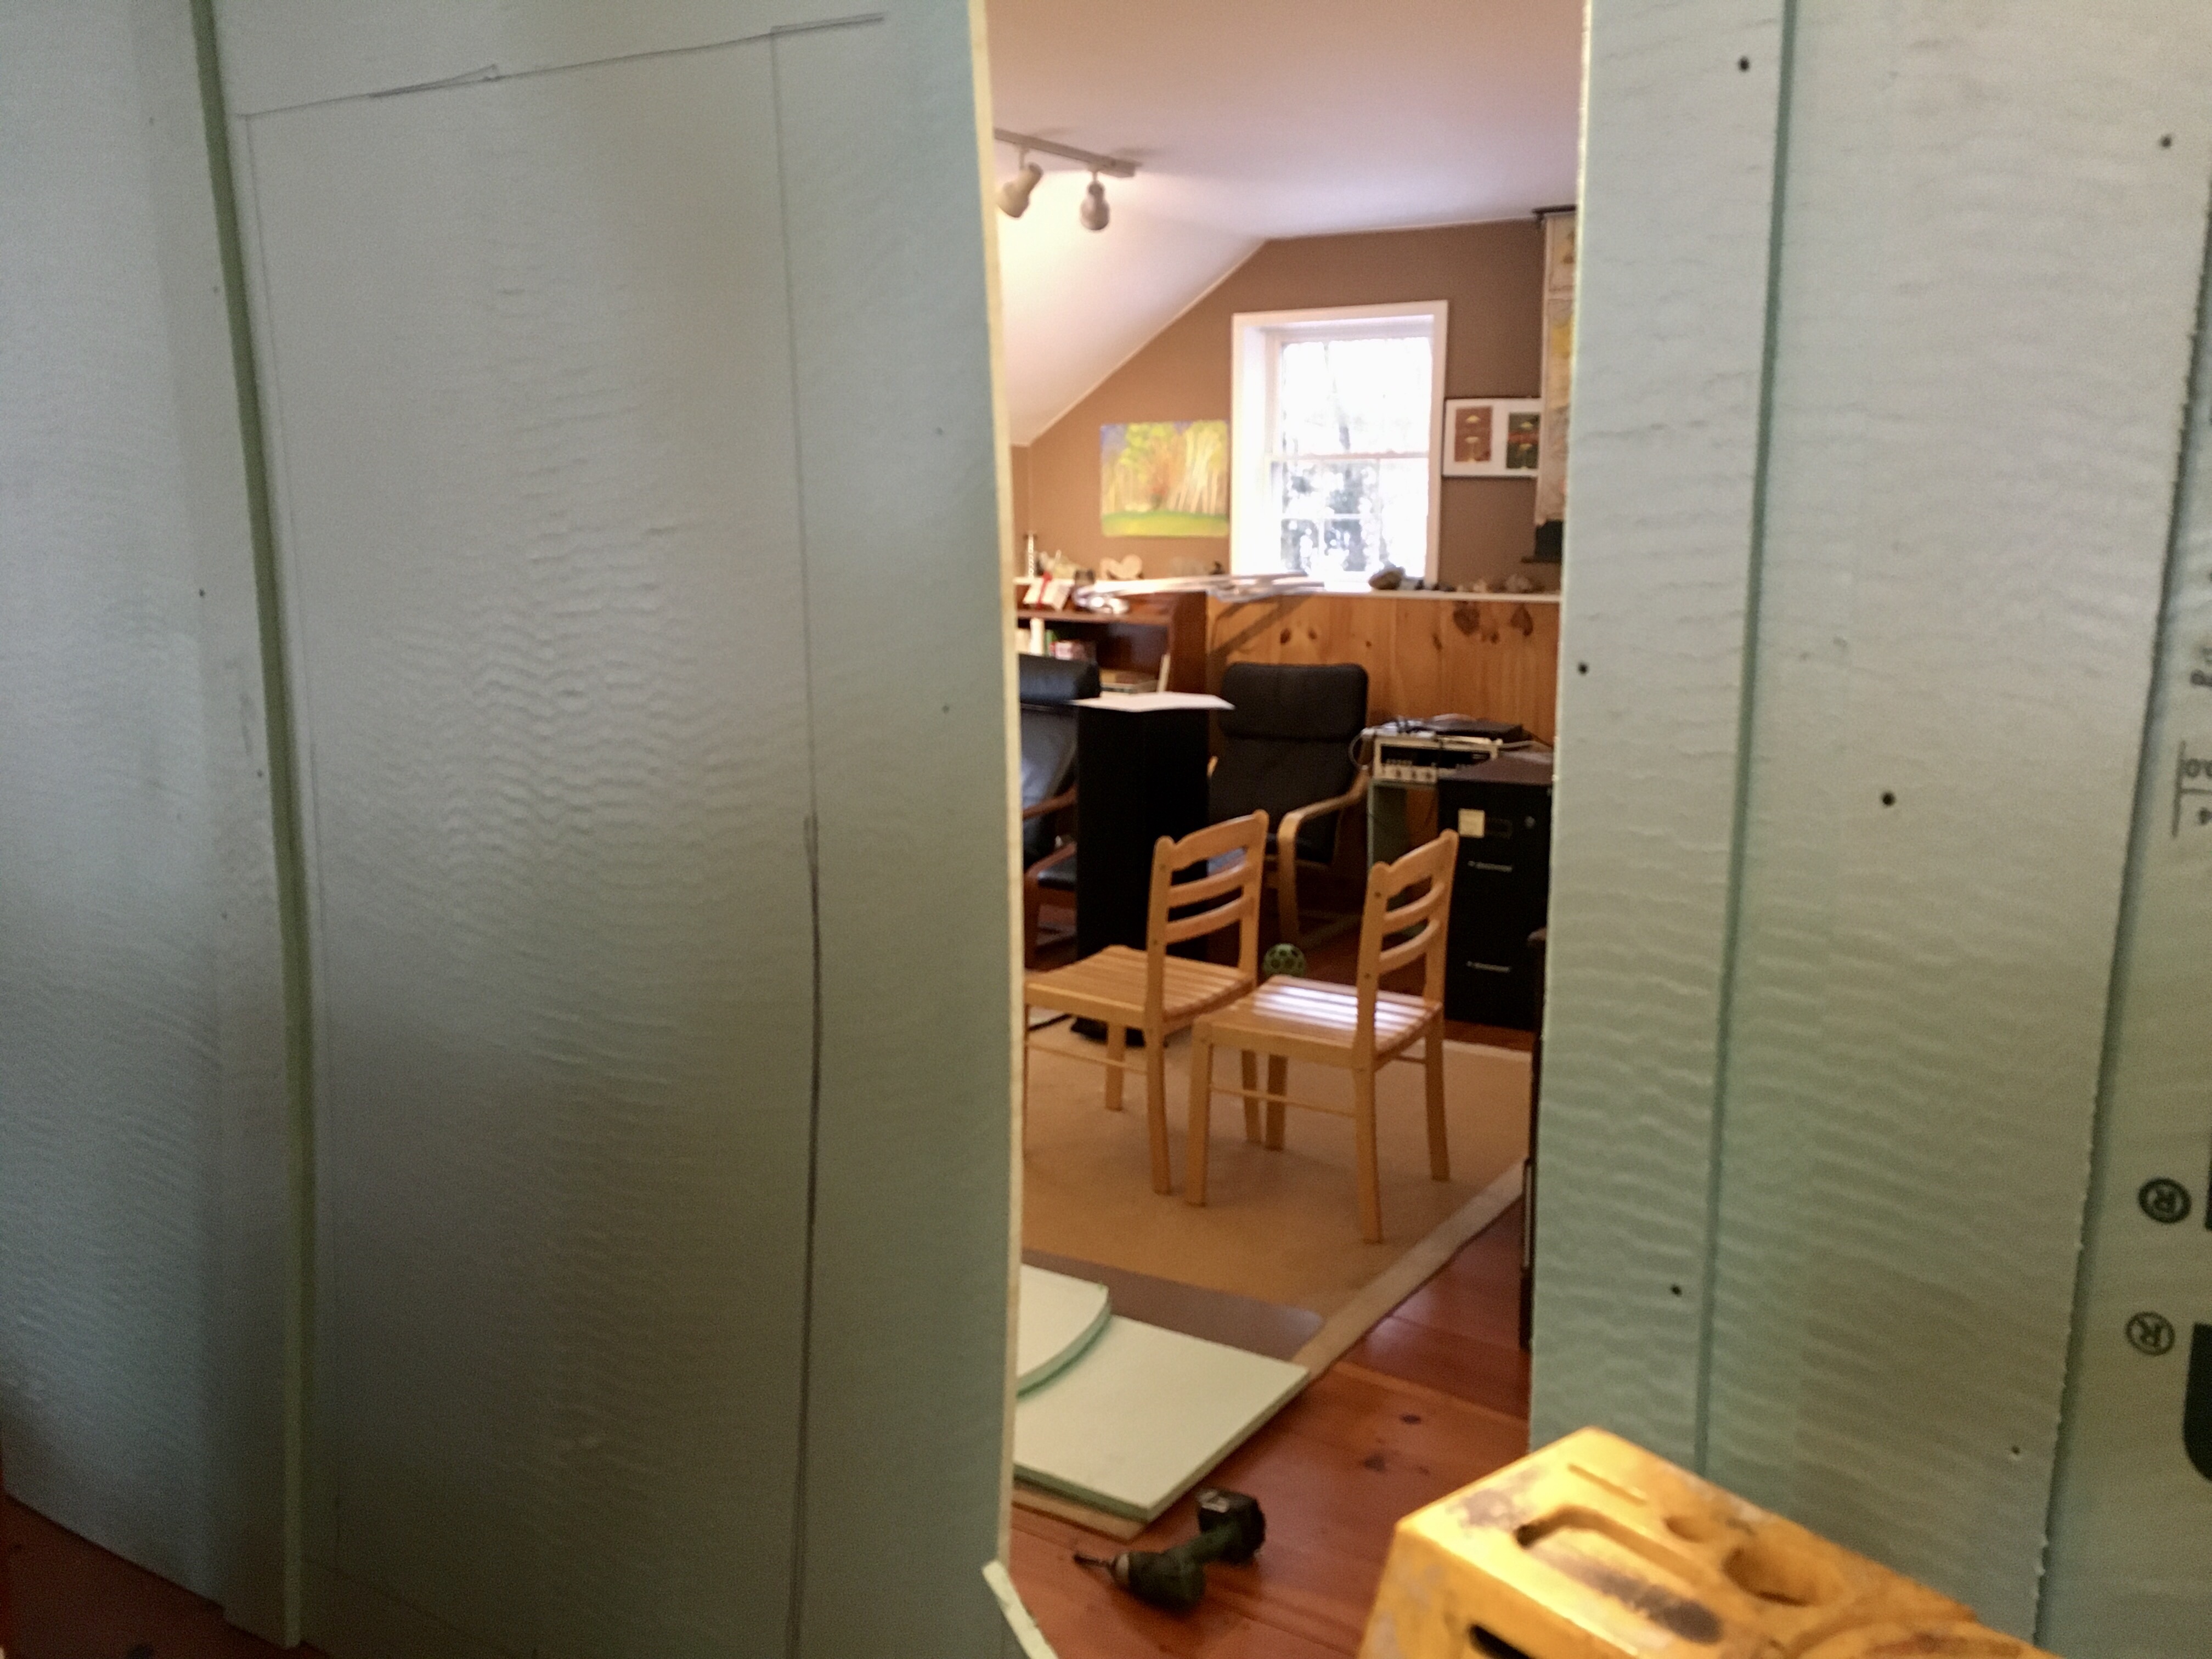
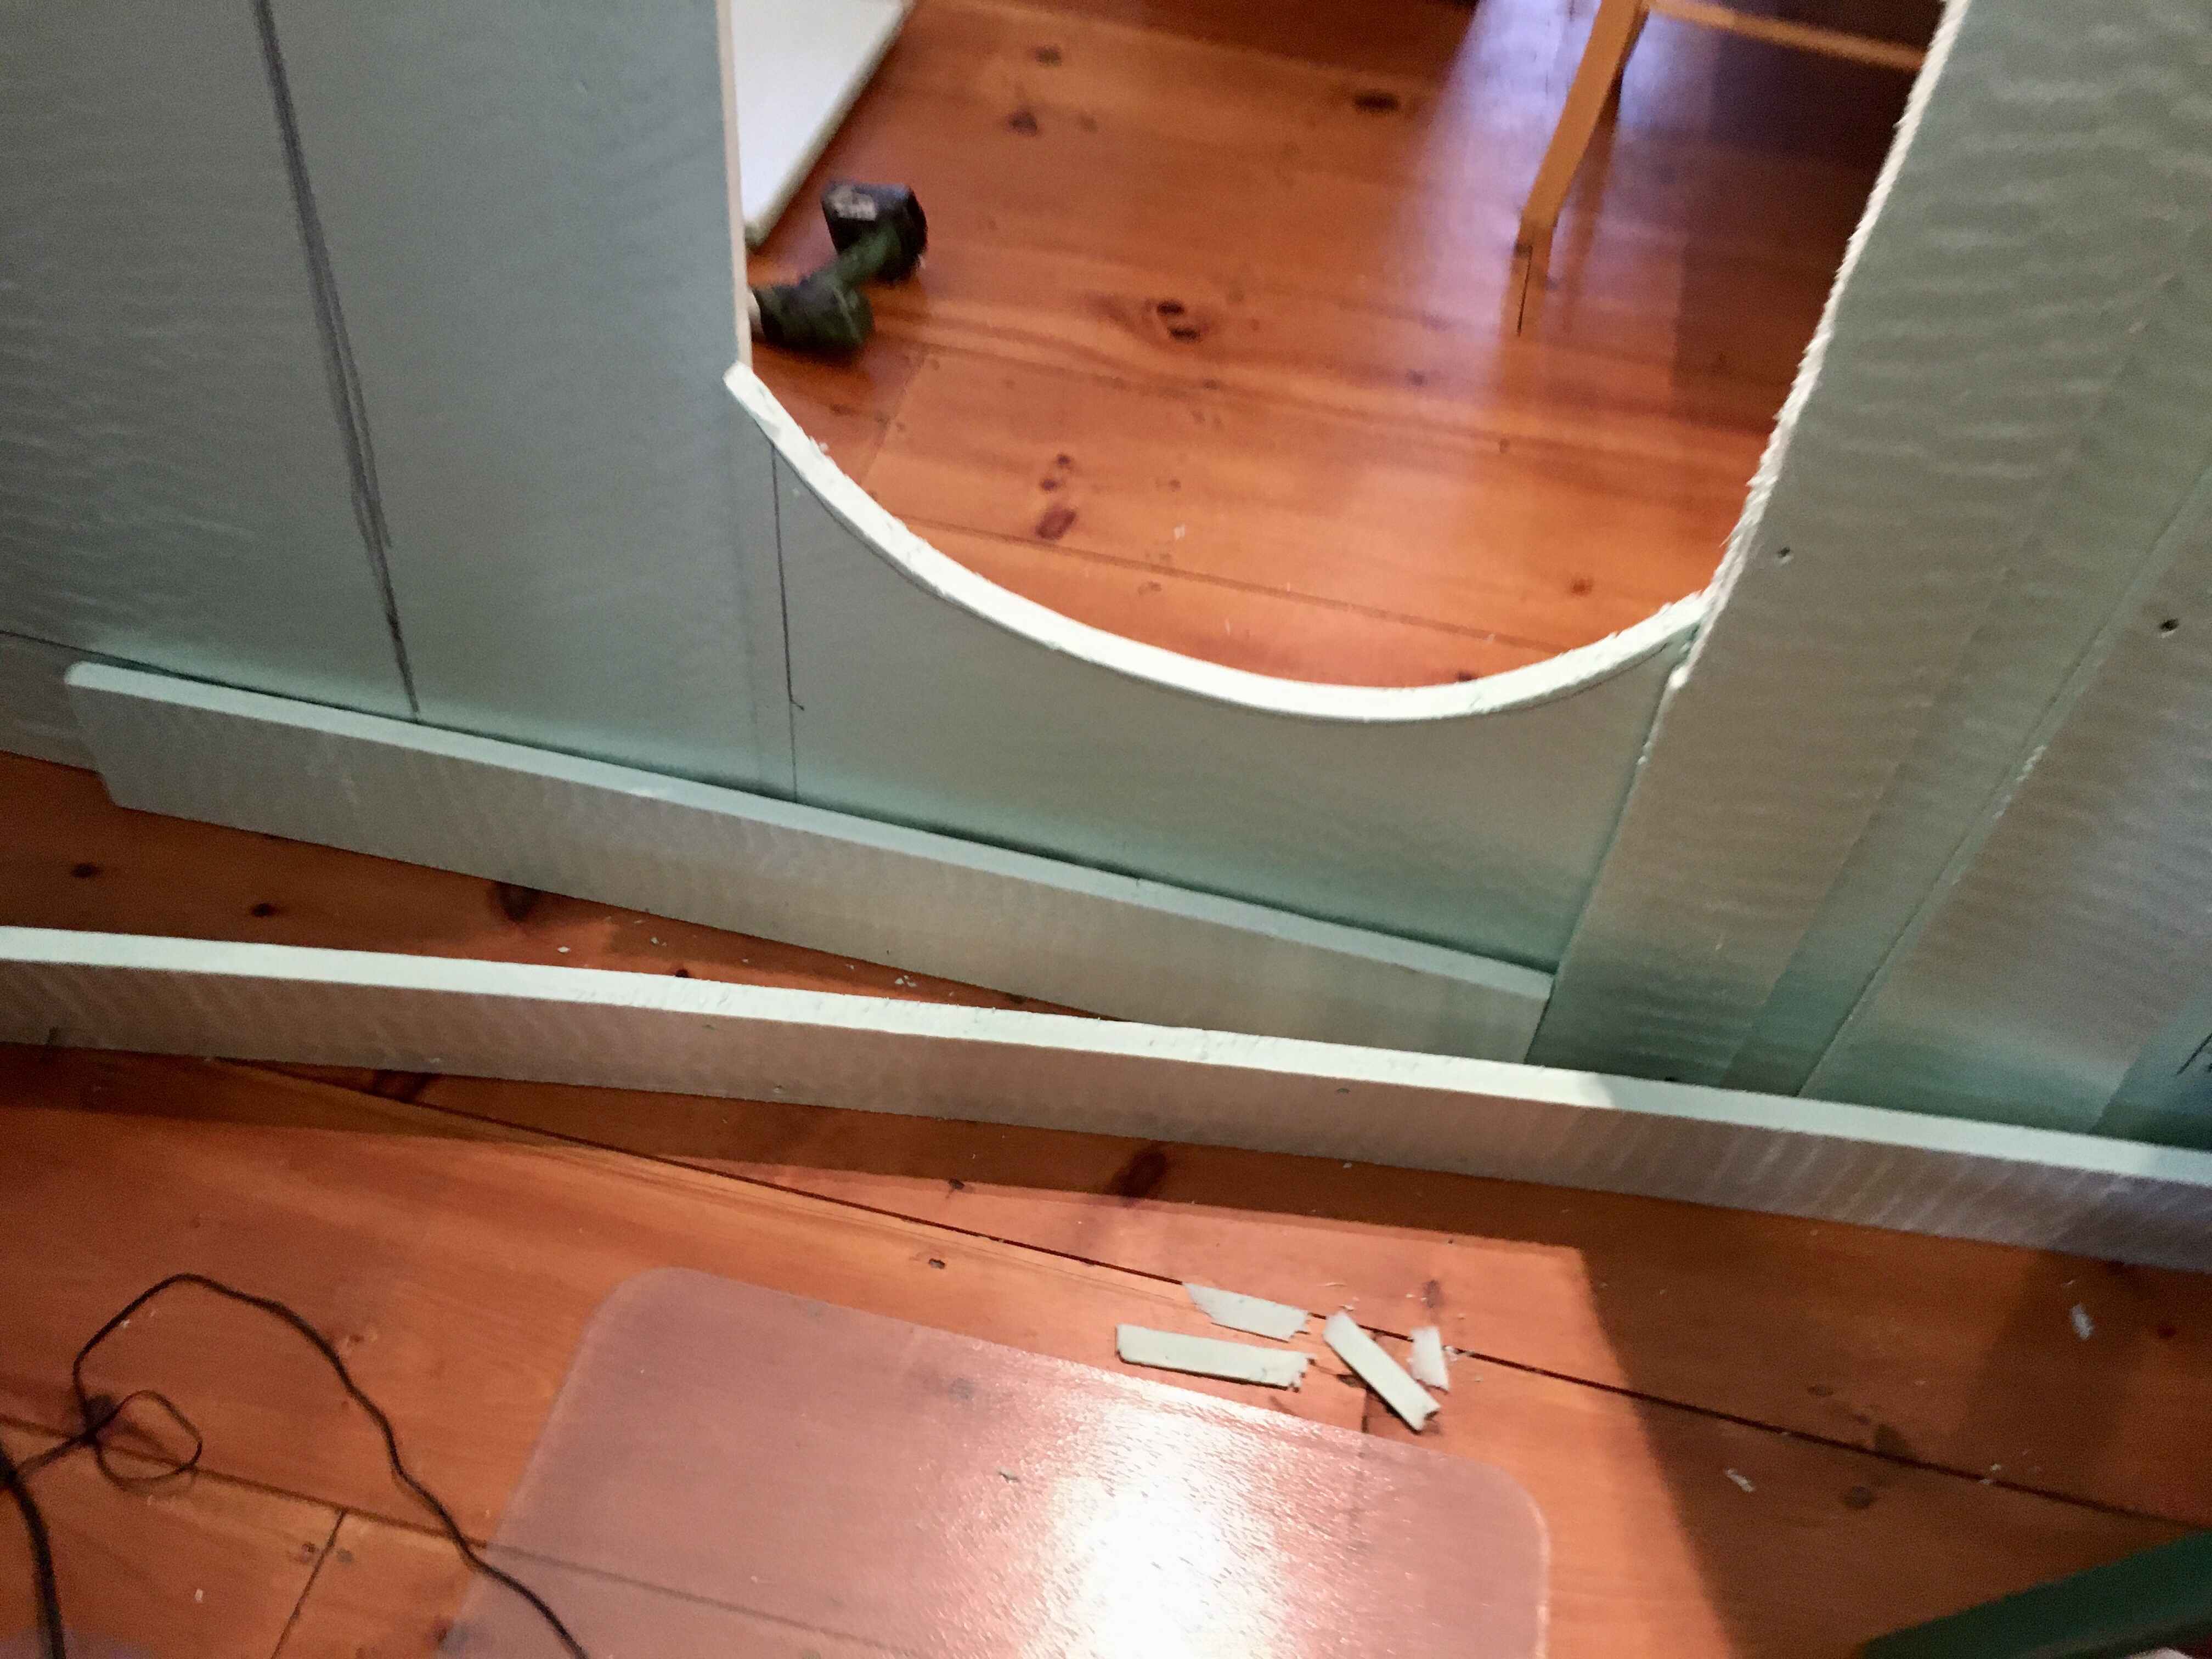
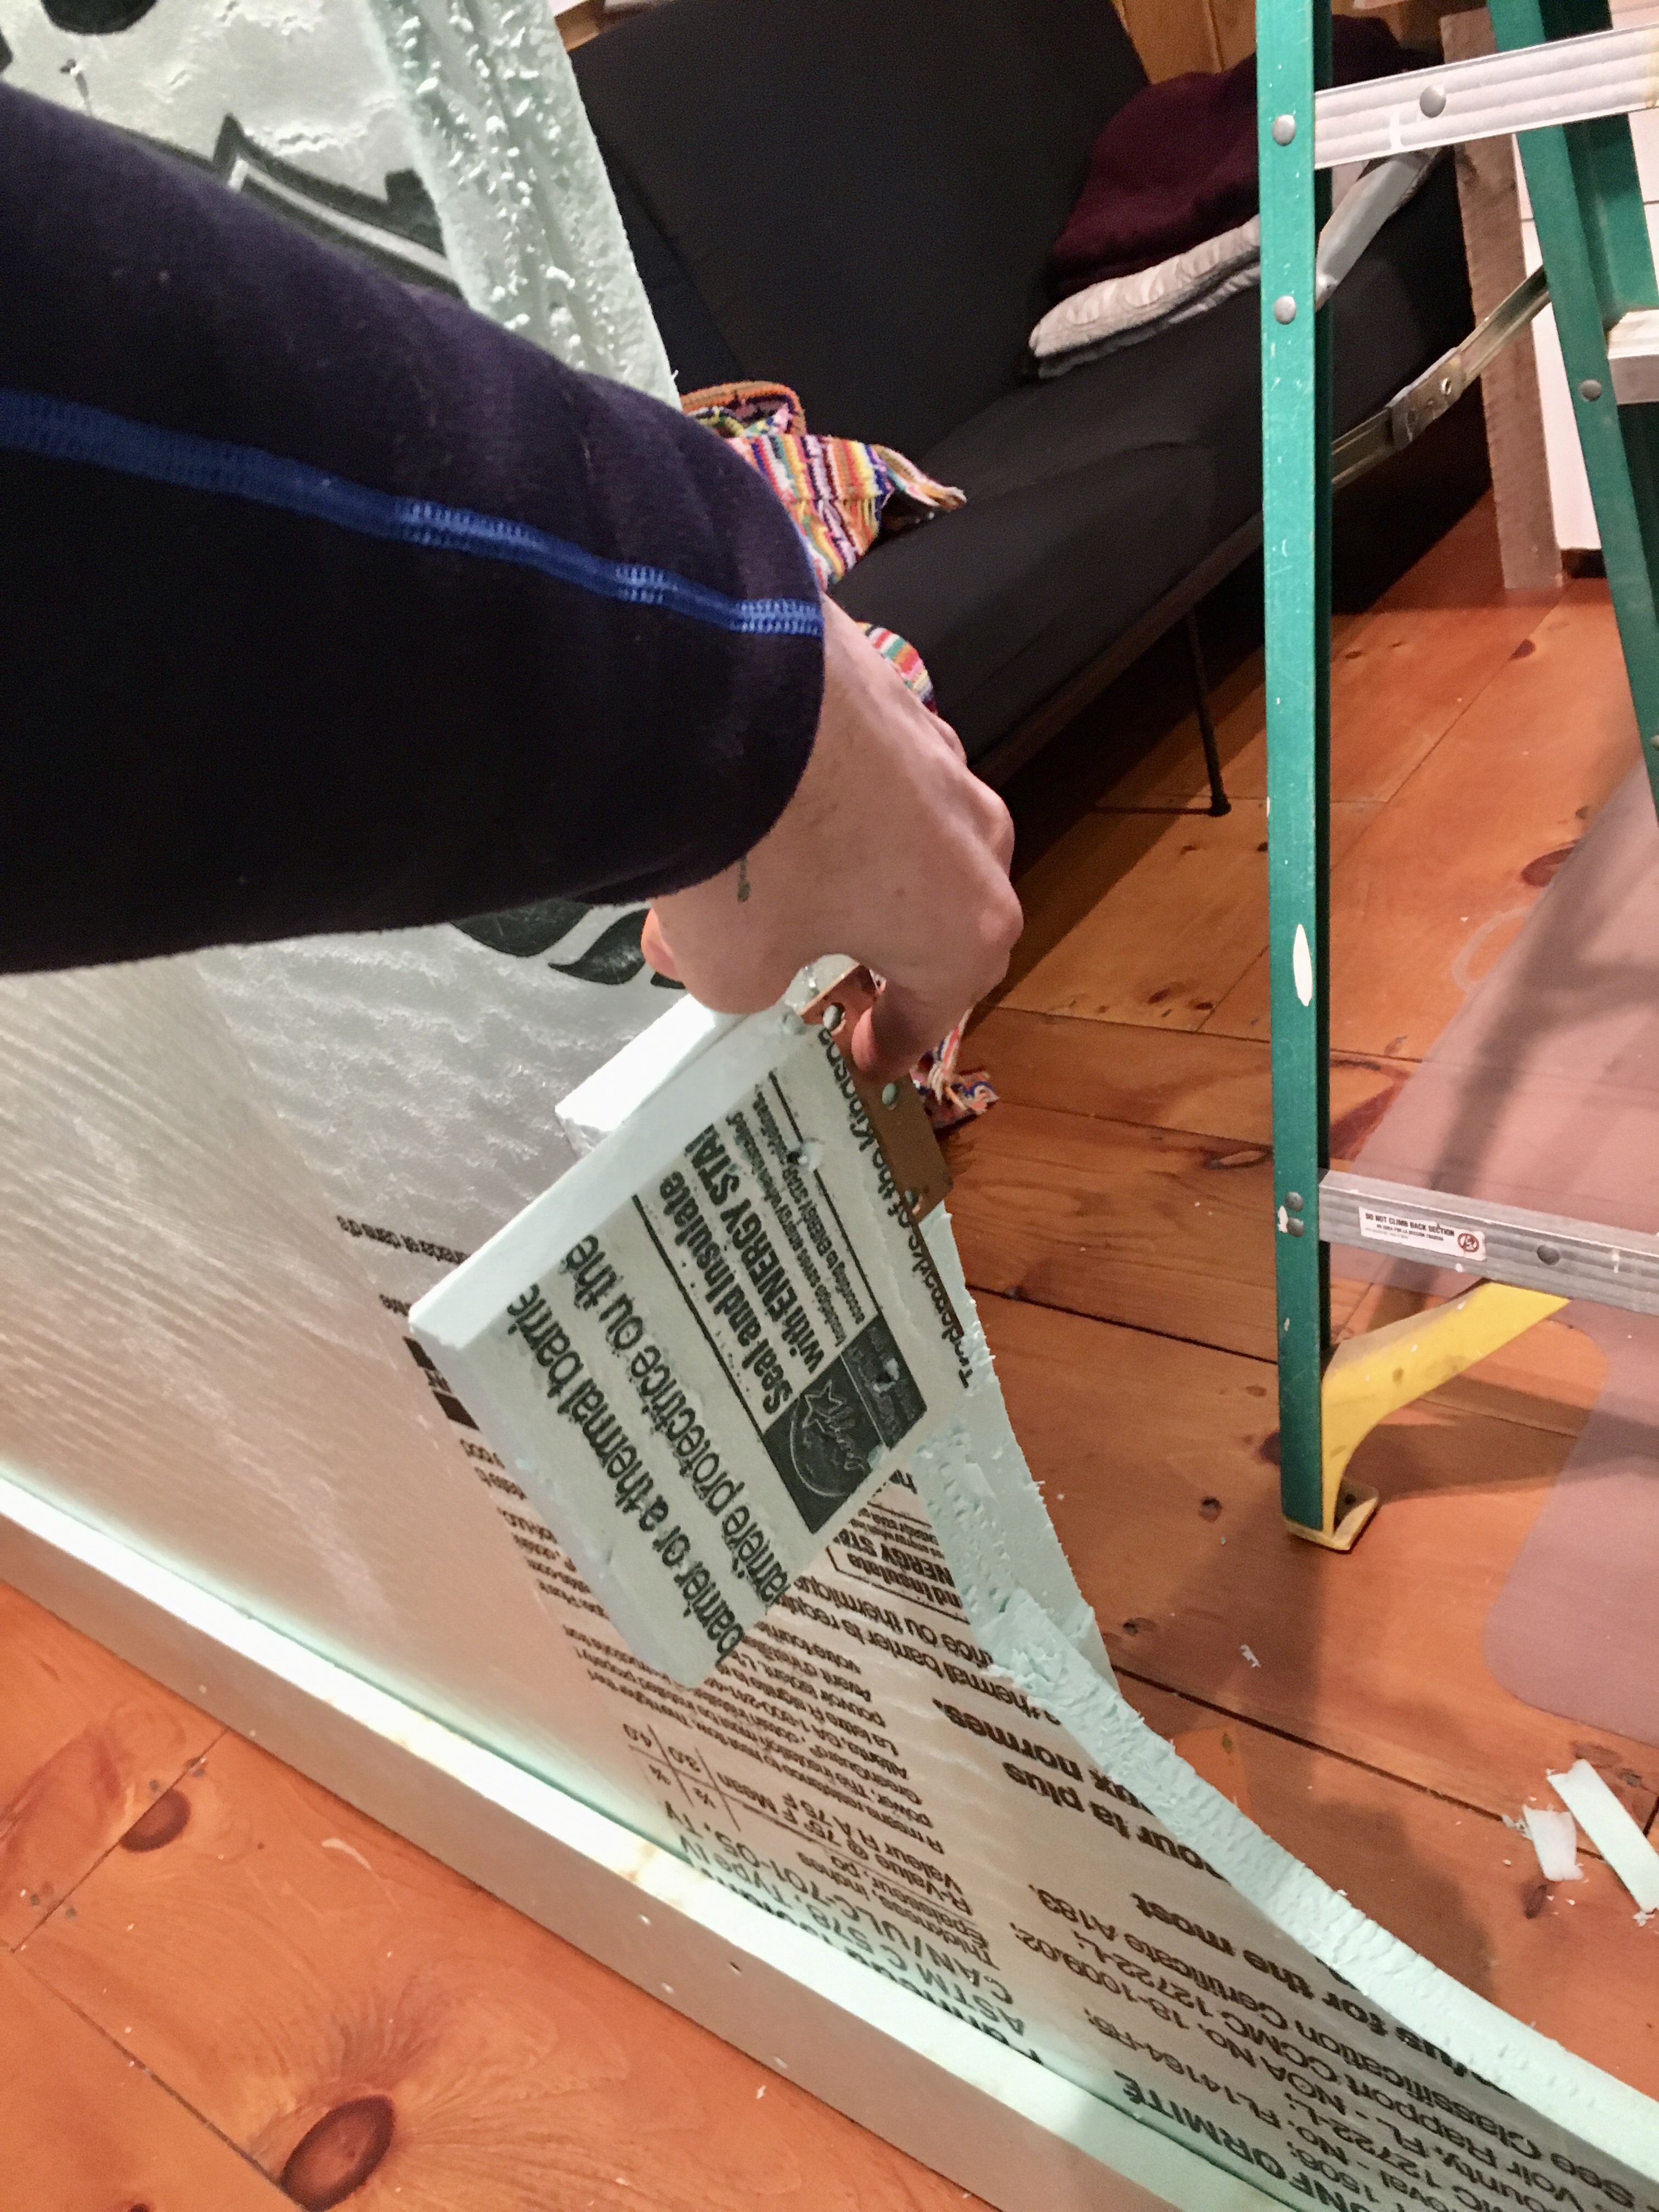
Once the door shape was decided, I set out to cut the shape out of the existing foam wall, make it durable, and figure out how to hinge the door. This sequence of pictures shows this process:
I traced the door using a sharpie, a large t-square, an an HDMI cable for the curves. I cut it out with a utility knife.
Adding a 1” foam trim board made the opening stable. A vertical trim board helps reduce the “wow” curve in the wall.
The hinge, a typical bolt hinge my dad had, is ~ 2” thick. I doubled up the foam.
Attaching the hinge to the door frame.
Hinge screw s to the the wall and door too!
I did some simple math to figure out how high to make the hinges.
Once attached to the door frame, I had a hard time closing and opening the door. Even with modification, which left some gaps around the door, it was tough to get the door to close. Later, I figured out it was because of the curve (wow) in the foam walls. I boarded up the wall for a few weeks, and it seemed to help straighten the curve, enough to open and close the door.
And voila! A door to the studio.
It is especially important to note that I could not have finished this project without the help of my sister, Julia, who helped me put a basic latch on the outside of the door. It was boarded over until she came and helped me finish my project. Nothing like a good sister to bail me out!
Door latch
Thank you also to our friend David P. Who I based the door latch off of, and who helped guide me through various parts of the project, like using washers so the screws don’t pull through the foam. Thanks to my roommates, mom and dad, for their support and the office space to work in!